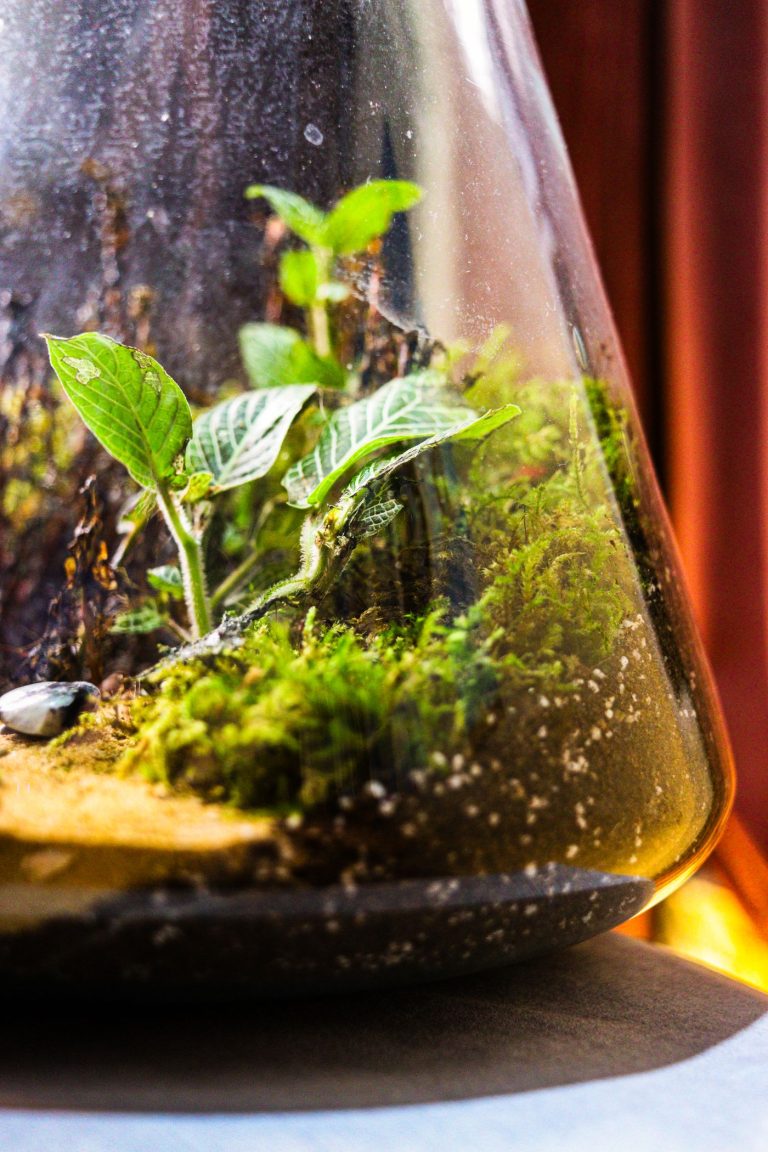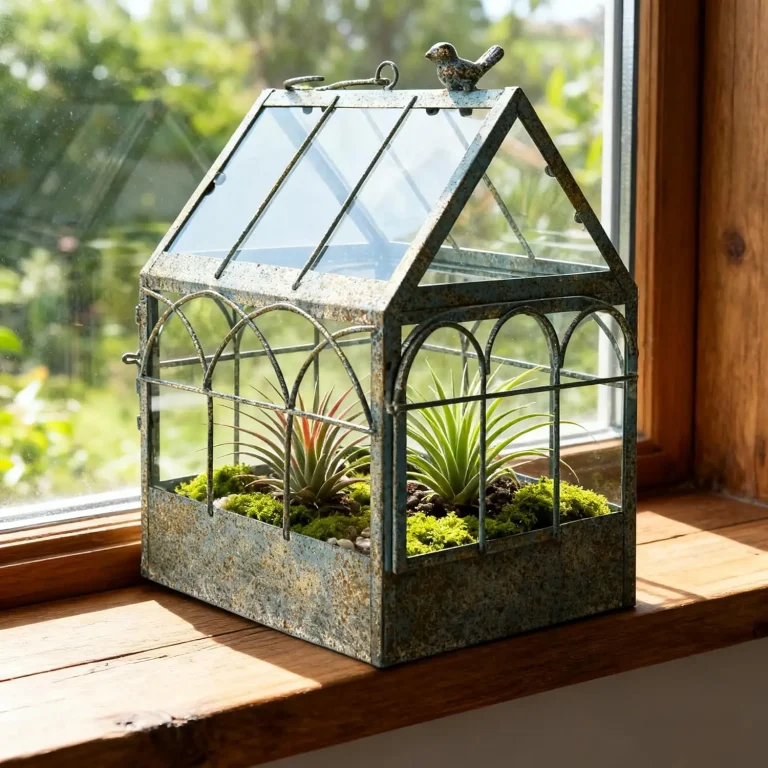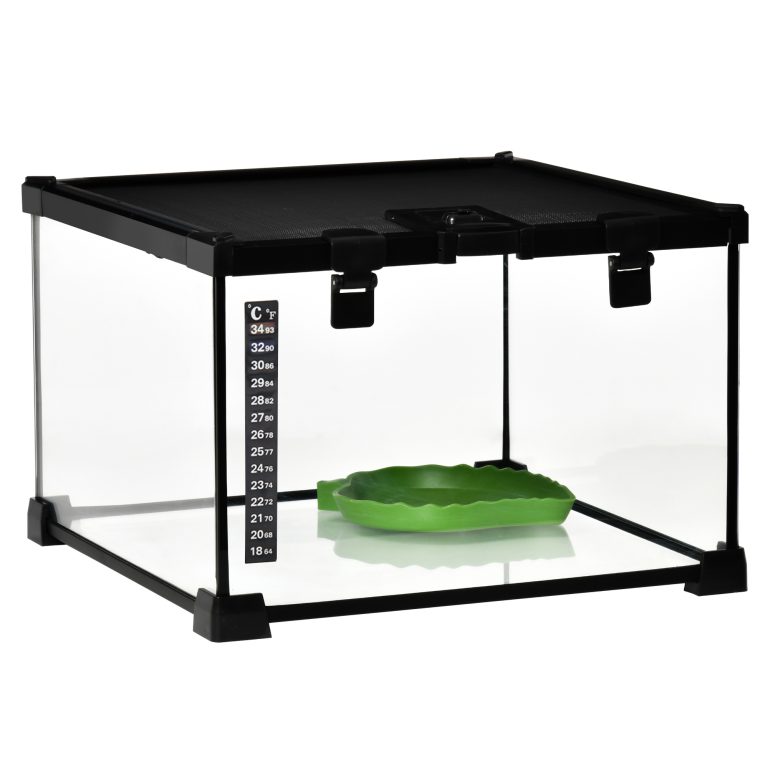
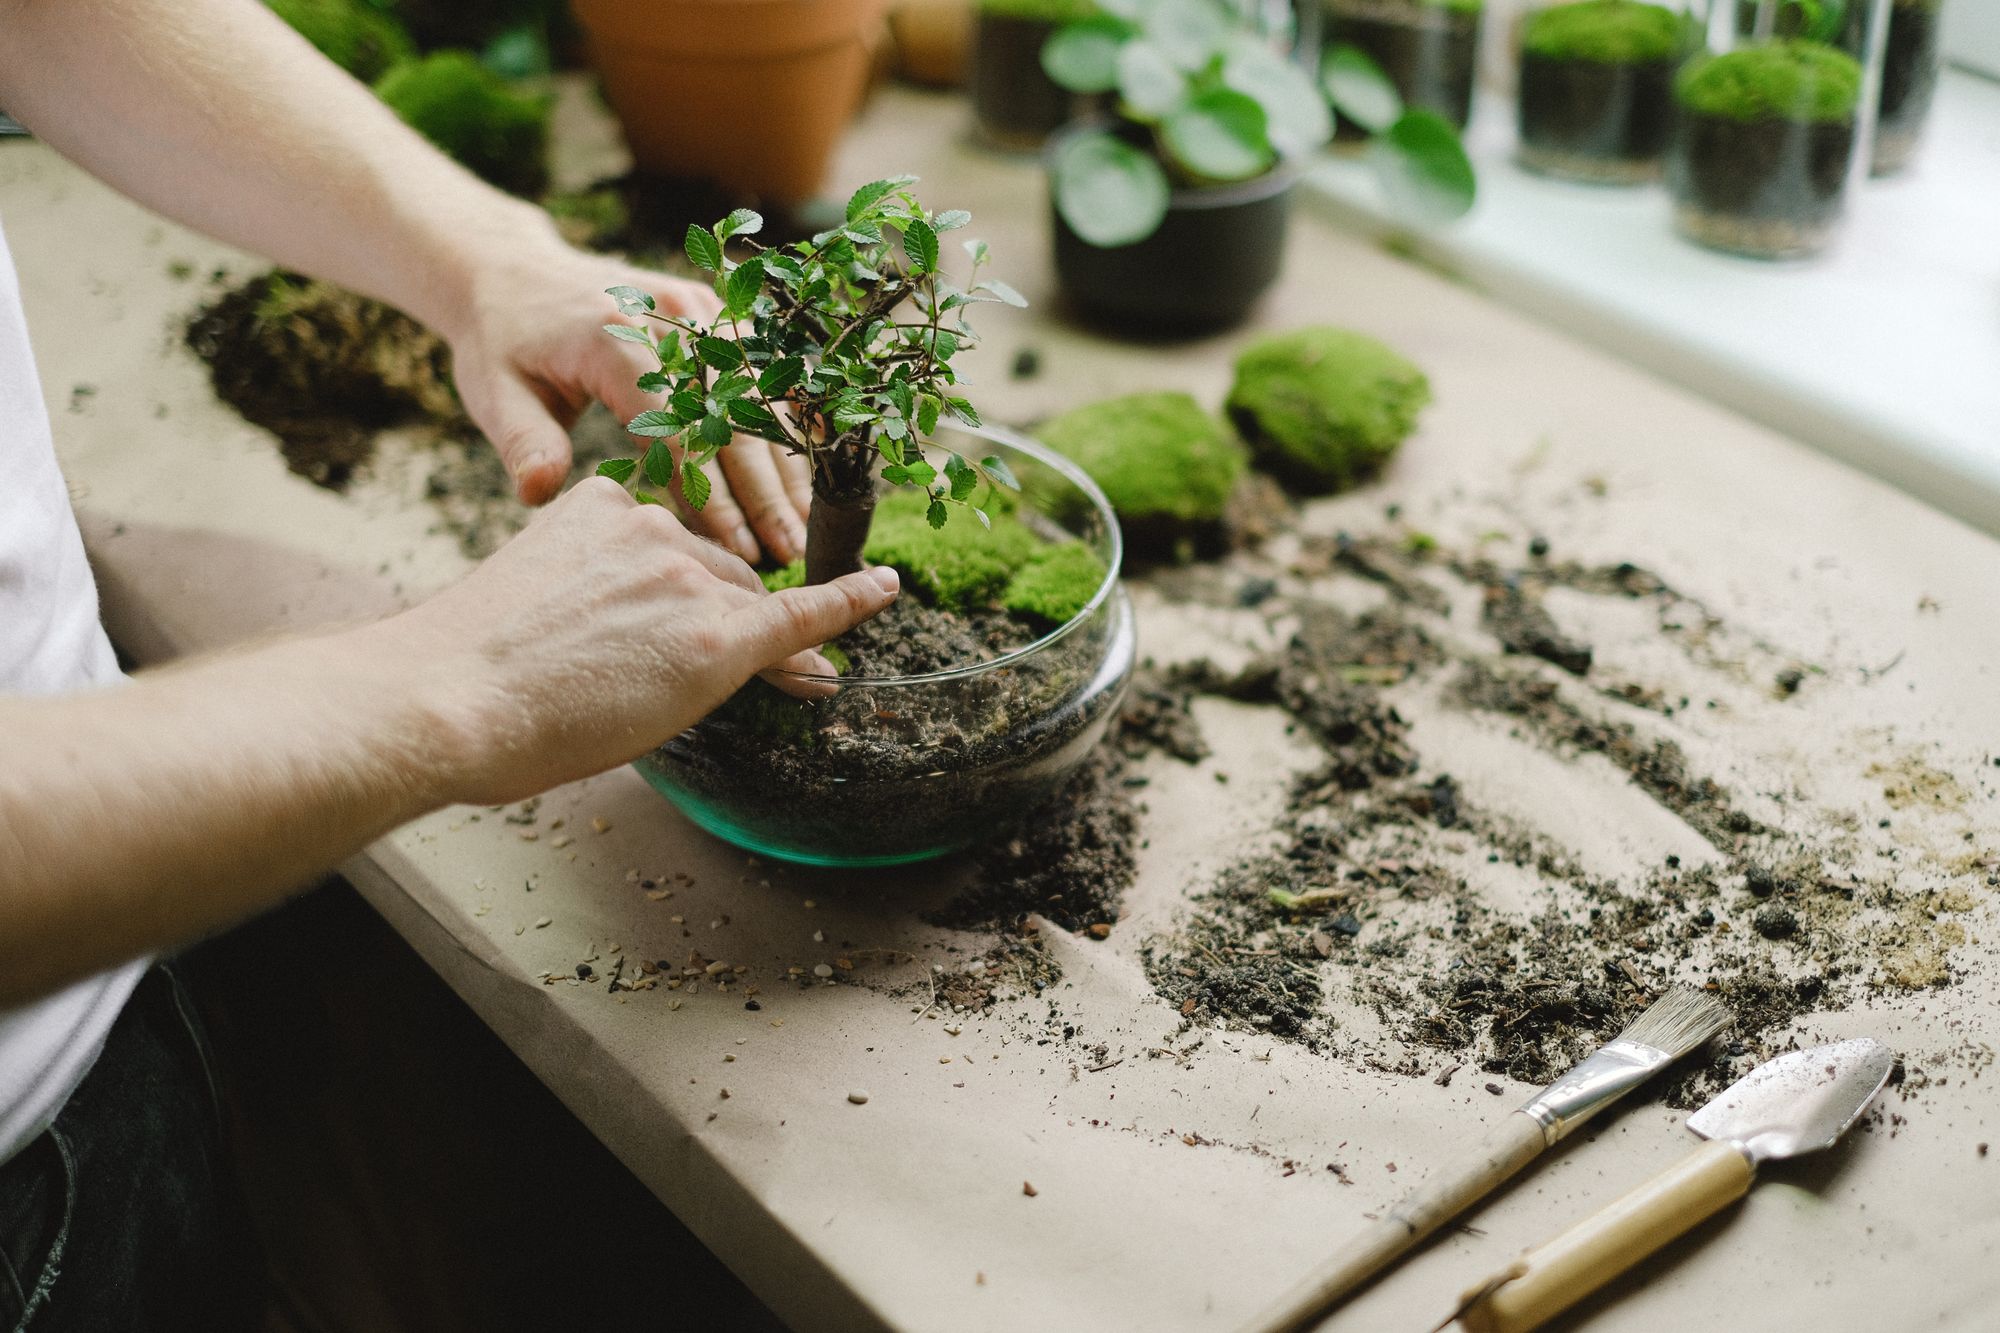
A bioactive terrarium is built from the bottom up, and each layer does a specific job. Get the order and the depths right and the whole thing looks after itself for years.
Why a terrarium is built in layers
Inside a sealed glass container, water has nowhere to go. It moves down through the soil, collects at the base, then evaporates and returns as condensation. That small water cycle is what keeps a closed terrarium alive, but it only works if the base can hold a little water without the roots sitting in it.
Layering solves this. A coarse reservoir at the bottom keeps excess water away from the soil, the soil above stays evenly moist, and a living cleanup crew turns fallen leaves and plant debris back into nutrients. Skip a layer or stack them in the wrong order and you tend to get the two most common problems: a sour, waterlogged base or soil that dries out unevenly.
The layers, from the bottom up
Here is what goes into a healthy bioactive build, in the order you add it. Depths are a starting point for a container around 20 to 40 cm tall; scale them up or down to suit yours.
1. The drainage layer
This is the reservoir at the very bottom, often called a false bottom. Use lightweight expanded clay balls (LECA), lava rock, or aquarium gravel, around 2 to 4 cm deep. Excess water drains into the gaps between the pieces instead of pooling in the soil, which keeps roots from rotting.
The drainage layer is the single most important part of a closed build. It is the difference between soil that stays pleasantly damp and a base that turns stagnant and starts to smell.
2. The barrier layer
A thin barrier sits between the drainage and the soil so the two never mix. Without it, fine substrate washes down into the reservoir and slowly fills the gaps you just made. A layer of mesh, landscape fabric cut to size, or a thin blanket of sphagnum moss all work well. Keep it light so water still passes through freely.
3. Activated charcoal (optional)
Many guides call for a sprinkle of horticultural charcoal above the barrier. In a healthy bioactive setup the cleanup crew and microfauna handle odours over time, so charcoal is helpful rather than essential. If you use it, a thin scattering is plenty. There is no need for a thick band.
4. The substrate
This is the living soil where roots and cleanup crew make their home, so it is worth getting right. For a tropical, moisture-loving terrarium, aim for around 5 to 8 cm of a loose, peat-free mix such as:
- Coco coir as the base, for structure and gentle water retention
- Orchid bark or fine wood chips, to keep it open and airy
- A little sphagnum moss, which holds moisture without turning claggy
- A small amount of worm castings for slow, natural nutrients
Give plants enough depth to root properly. Too shallow and taller plants struggle to anchor; too deep in a small container and you lose planting height.
5. Leaf litter and hardscape
A scatter of dried leaves across the surface is not just decoration. It feeds your springtails and isopods, shelters them, and gives the scene a natural forest-floor feel. Oak, beech, and magnolia leaves are firm favourites because they break down slowly.
Hardscape, meaning cork bark, wood, and stone, adds height and character. Rinse or soak any wood and rock before it goes in, so nothing unwanted travels into the terrarium with it.
6. Plants and moss
Choose plants that enjoy steady humidity: small ferns, fittonia, pilea, and cushions of moss all thrive in a closed setup. Plant the taller pieces toward the back and let moss knit across the open soil to hold everything in place. For more detail on matching plants to your container, our guide to building a terrarium walks through it step by step.
7. The cleanup crew
The final layer is a living one. Springtails and isopods are the tiny recyclers that make a terrarium bioactive, grazing on mould, fallen leaves, and waste so you rarely have to intervene. They settle into the leaf litter and top of the substrate within a few weeks. You add them last, once everything else is planted and lightly misted.
Getting the order right
If you remember nothing else, remember the sequence. Building out of order is the usual reason a terrarium struggles later.
- Drainage layer (clay balls, lava rock, or gravel)
- Barrier (mesh or sphagnum moss)
- Optional thin scatter of charcoal
- Substrate (peat-free tropical mix)
- Hardscape and leaf litter
- Plants and moss
- Cleanup crew, added last
Common layering mistakes
A few small habits make the biggest difference to how well a build settles in:
- No drainage layer. Soil sitting on the glass base holds water and quickly sours. Always give it a reservoir to drain into.
- Skipping the barrier. Substrate washes down, the reservoir clogs, and drainage stops working within a few months.
- Overwatering at the start. A closed terrarium recycles its own moisture. A light misting is usually enough; you can always add more, but it is hard to take water out.
- Adding the cleanup crew too early. Let the planting settle and mist it first, so they arrive to a stable, slightly humid home.
Building your own base
Layering is genuinely simple once you understand what each part is for, and it is the foundation everything else rests on. A steady hand helps when you are placing gravel and plants in a narrow opening, which is where a set of long-handled tools earns its keep. Our Maker’s Kit terrarium tool set is made for exactly this kind of close, careful work.
If you are starting from scratch, a well-shaped vessel makes the layers easy to see and easy to reach. The Glasshouse Bioactive Terrarium Tank gives you room to build each layer properly, and once your springtail and isopod cleanup crew has settled in, the whole thing becomes largely self-sustaining. When you are ready to put it all together, our full step-by-step build guide takes you from empty glass to finished landscape.