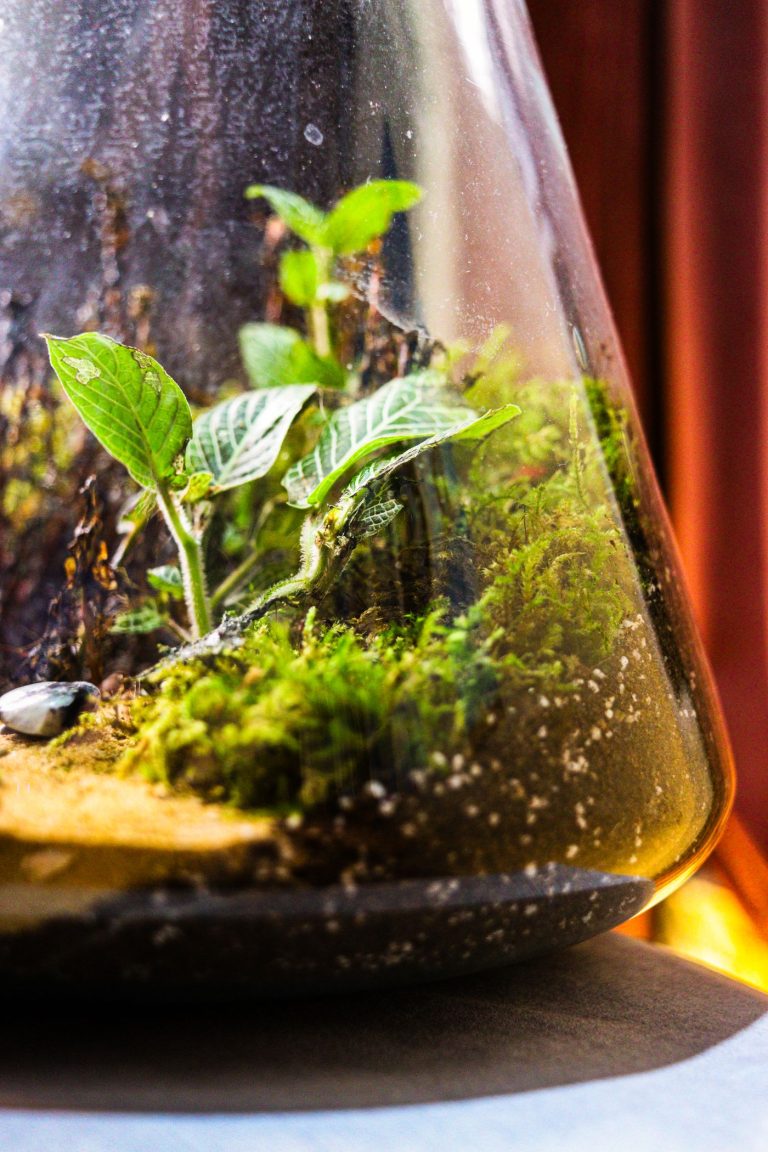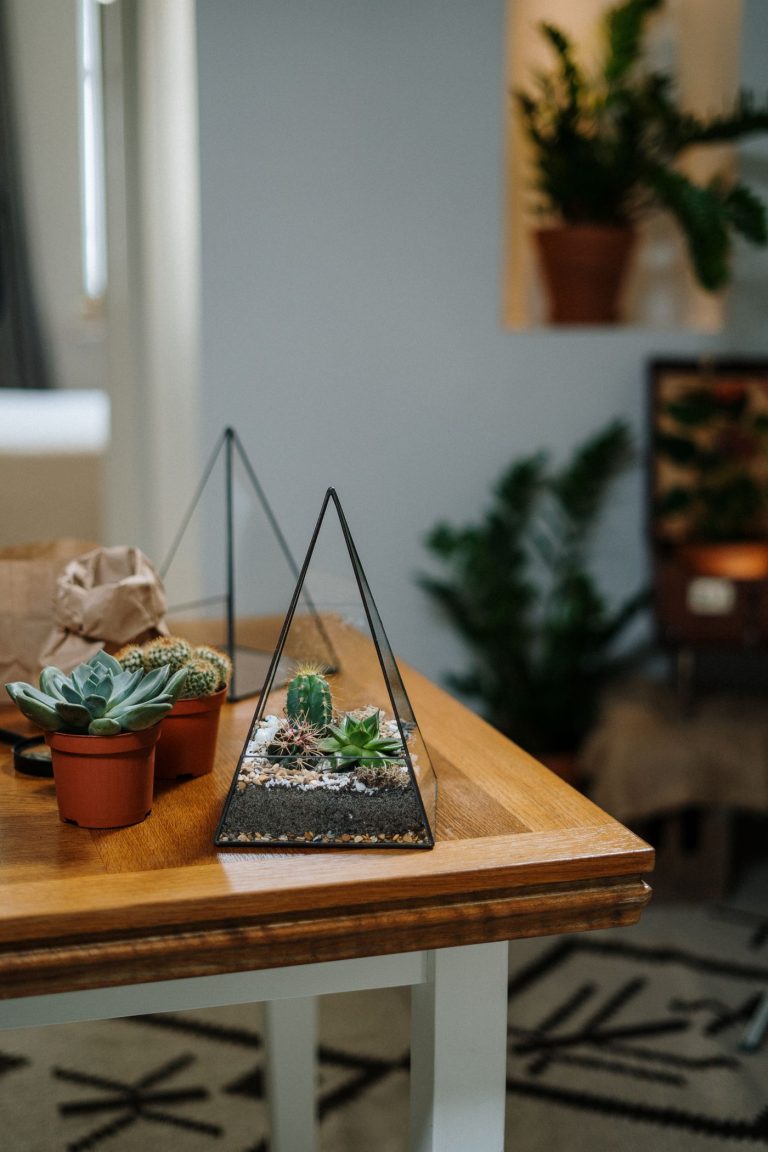
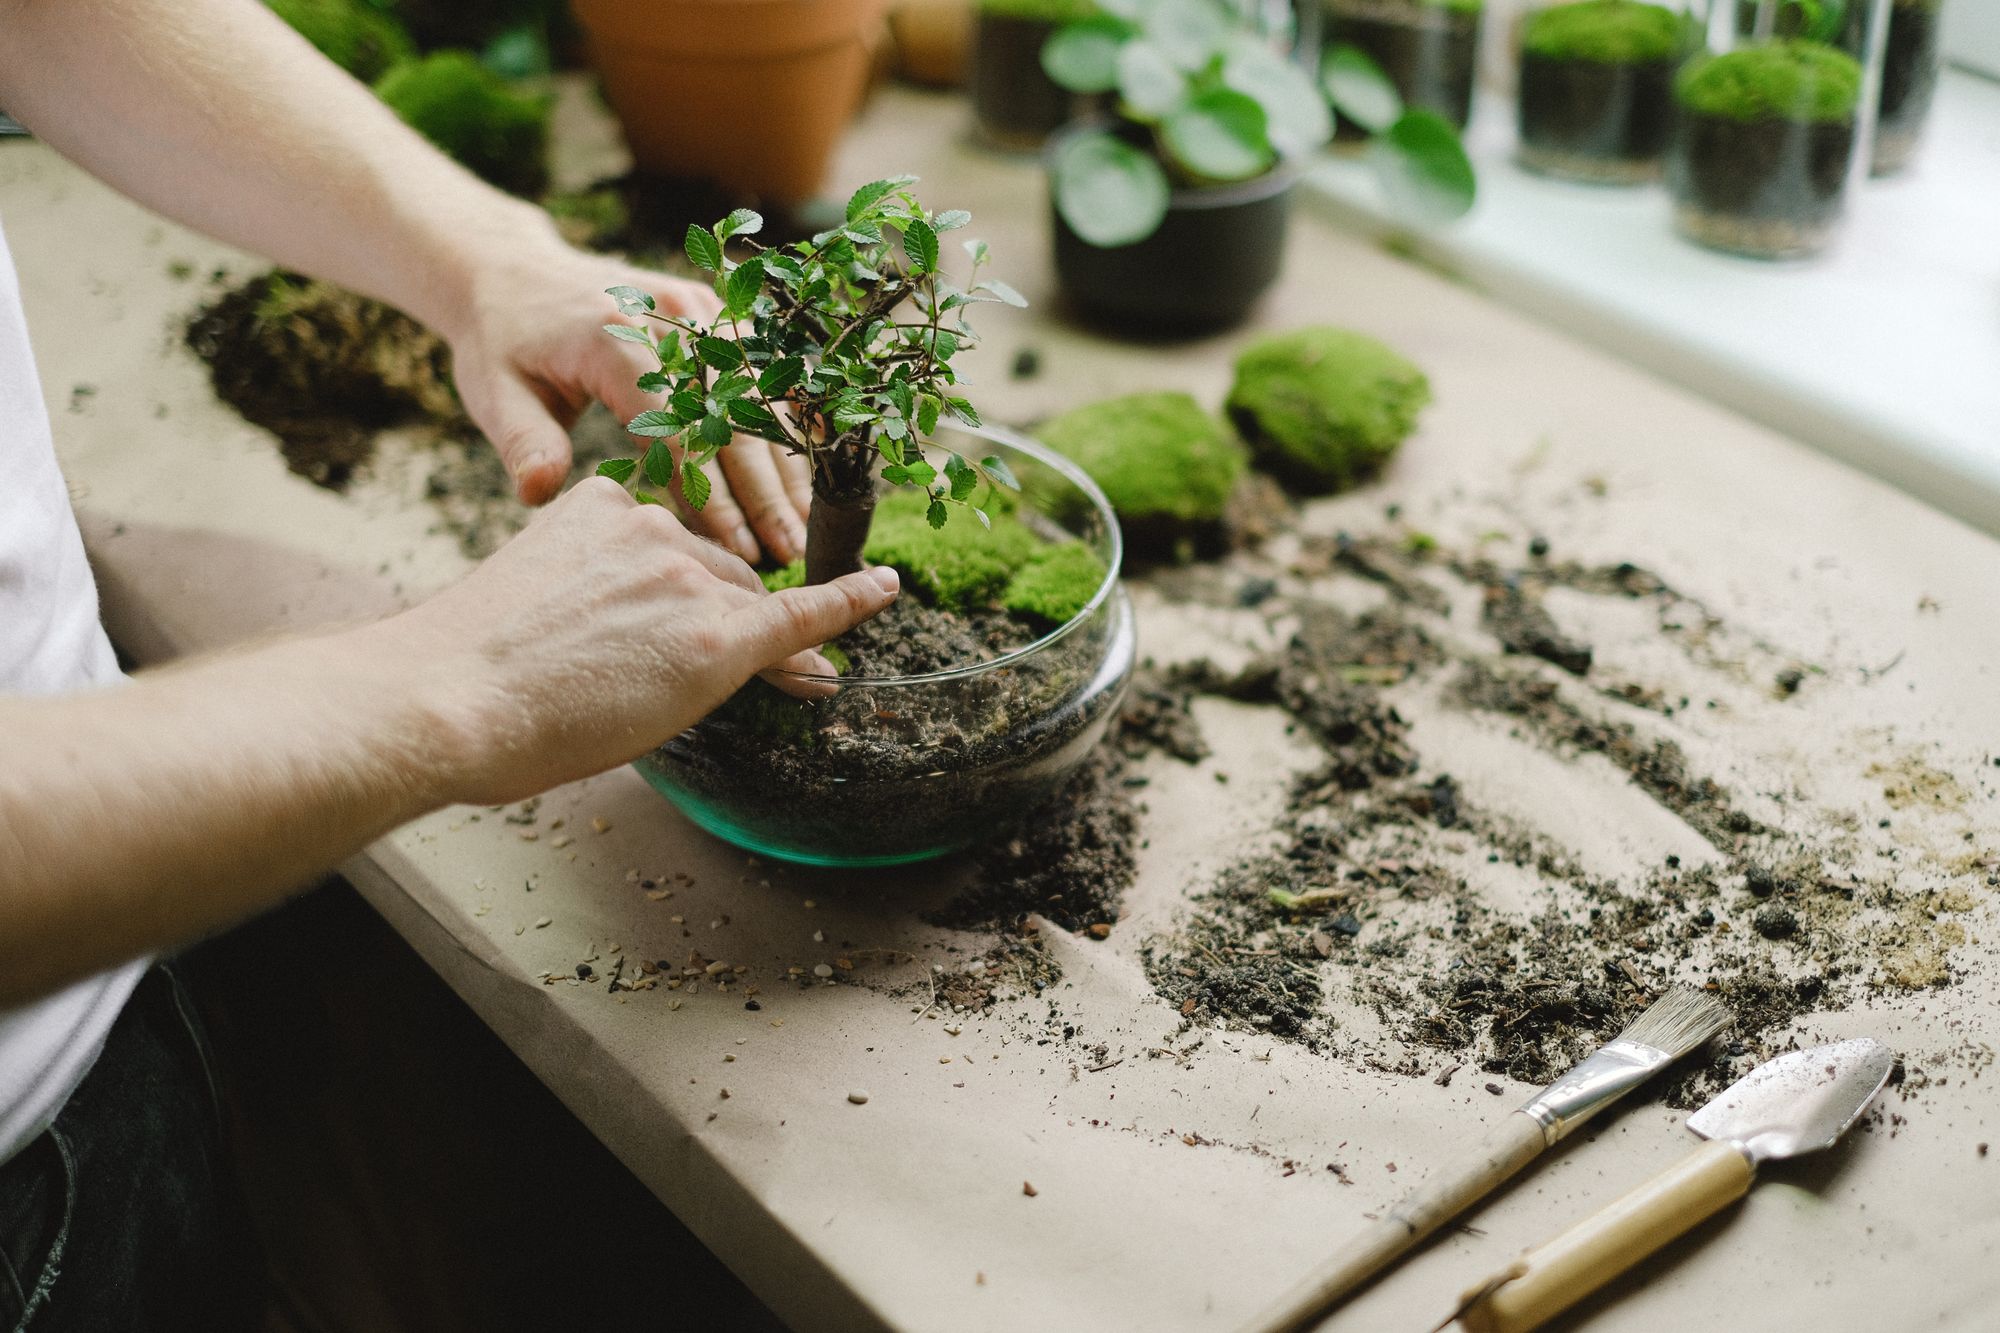
A healthy terrarium and a beautiful one are not quite the same thing. Once the base and the plants are sorted, a little thought about arrangement is what turns a glass box of greenery into a small landscape you want to look at every day.
Start with the vessel and the view
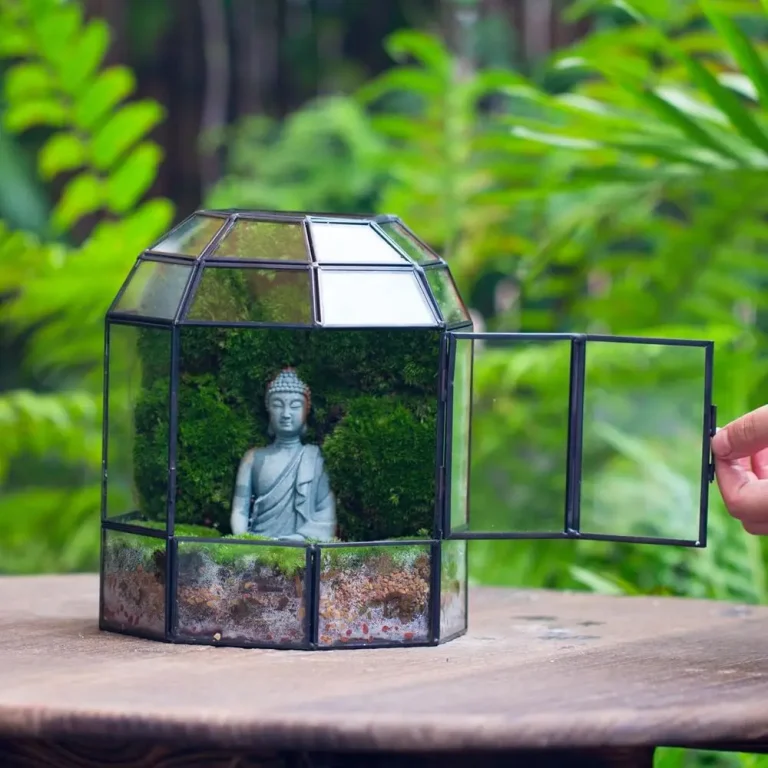
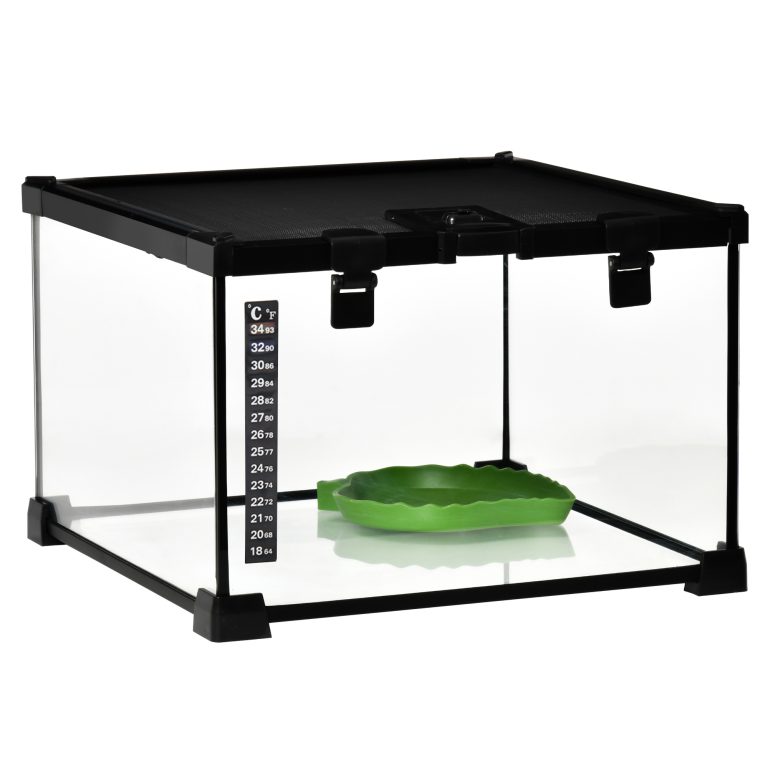
Before you place a single plant, decide how the terrarium will be seen. A tank against a wall is really a stage, viewed mostly from the front, so the tallest features belong at the back. A geometric terrarium on a coffee table is seen from every side and from above, so it needs interest all the way around rather than a clear front and back.
Turn the empty vessel the way it will actually sit in the room and pick your main viewing angle. Every decision that follows, from where the focal point goes to how you slope the substrate, is easier once you know where the reader of the scene is standing.
Think in three zones
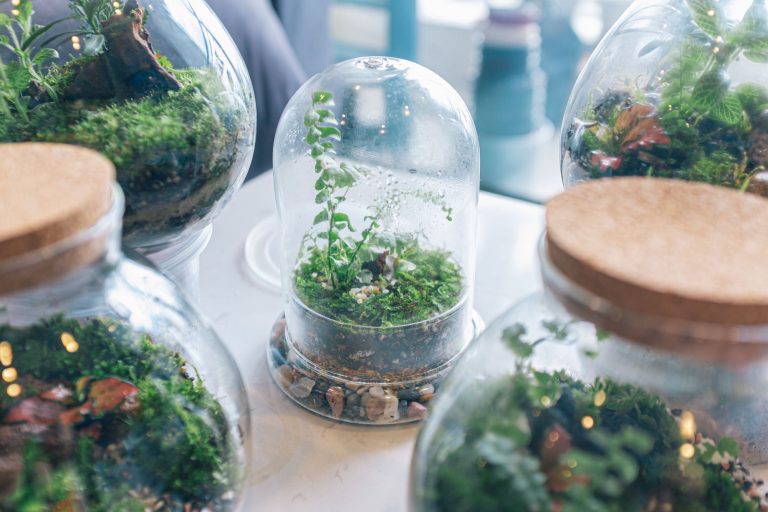
Most arrangements that feel natural are built in three loose layers of depth. You do not need to measure anything, just keep the idea in mind as you work.
- Foreground: low, fine detail near the glass. Carpeting moss, small pebbles, a scattering of leaf litter. This is where the eye lands first.
- Midground: the main planting and usually the focal point. Ferns, a shapely plant, or a standout piece of wood.
- Background: the tallest plants and the highest point of the hardscape, giving the scene a sense of a horizon behind it.
A gentle slope helps this enormously. Building the substrate up higher at the back than the front adds depth and lets water drain toward the base. This design layer sits on top of the functional layers underneath, so it helps to have those right first. Our guide to building a healthy base covers the drainage and substrate that everything here rests on.
Choose one focal point, and place it off-centre
A scene with a clear focal point reads as calm and intentional. A scene where everything competes for attention reads as busy. Pick one element to lead: a characterful piece of wood, a plant with a strong shape, or a single striking stone.
Resist the urge to put it dead centre. Placing the focal point roughly a third of the way in, rather than in the middle, is an old landscape trick that almost always looks more relaxed and less staged. Let the rest of the planting support that one feature instead of rivalling it.
Odd numbers and varied heights are your friends. Three stones of different sizes will always sit more naturally than two matched ones, and a mix of tall and low plants reads as a landscape rather than a display.
Working with wood and stone
Hardscape, the wood and rock in a terrarium, is what gives a young planting instant structure and age. A good piece of wood can carry a whole scene while the plants fill in around it. The key is choosing materials that are safe in a warm, humid, closed environment.
Choosing wood
Look for dense, slow-to-rot woods sold for terrariums and aquariums, such as cork bark, grapevine, spider wood, or mopani. Avoid fresh softwoods like pine and cedar, which can leach resin. If you gather your own wood, soak or gently boil it first to remove loose debris and tannins and to reduce the chance of mould.
A little white surface mould on new wood in the first few weeks is common and usually harmless. In a bioactive setup, a well-established cleanup crew of springtails and isopods will graze it away as the wood settles in.
Choosing stone
Choose stable, non-crumbling stone such as slate, granite, quartz, or lava rock, and rinse off any dust before it goes in. Group stones so they look like part of the same outcrop, keeping the grain or lines running roughly the same way rather than scattering them at random. Take care not to press hard pieces against the glass, which can scratch it.
Plant for depth and contrast
Once the bones are in, planting is where the scene comes alive. Contrast is what keeps it interesting: pair fine, feathery foliage with something broader and bolder, and set a deep green against a lighter or variegated leaf.
- Put the tallest plants toward the back or centre, depending on the viewing angle, and work down to low carpeting plants at the front.
- Repeat a plant or a colour in two or three spots to tie the arrangement together.
- Tuck moss around the base of wood and stone so the hardscape looks rooted in the scene rather than dropped on top.
Matching plants to the conditions matters as much as matching them to each other. For a humid, lidded build, our roundup of the best plants for a closed terrarium is a good place to start.
Leave room to grow
The most common arrangement mistake is planting for how it looks on day one. A terrarium fills in, and a scene that is packed at planting will be crowded within a couple of months.
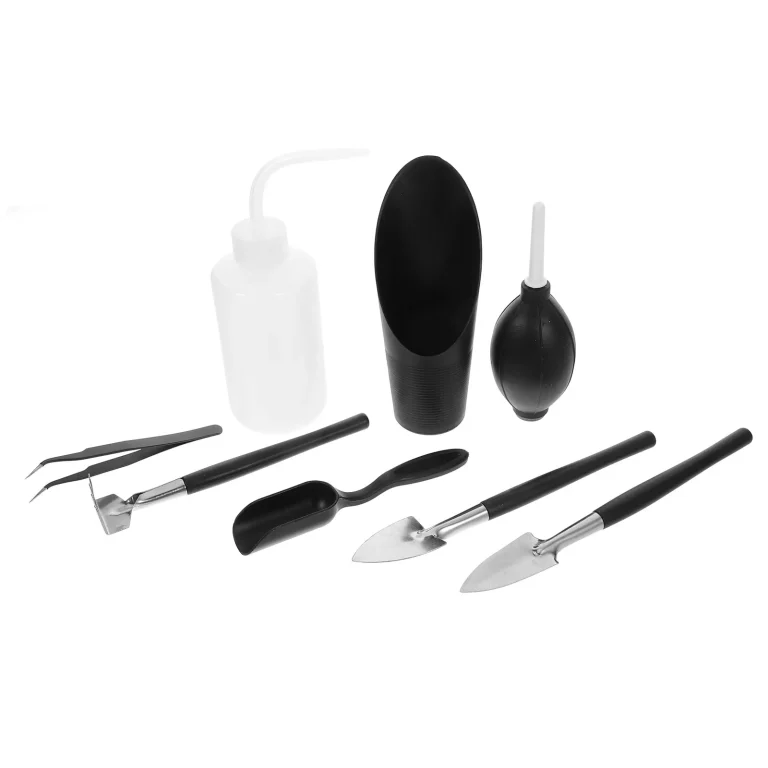
Leave visible gaps of substrate and moss between plants and let them knit together over time. A slim pair of tools makes this far easier, letting you set small plants into tight spaces and lift out anything that outgrows its spot without disturbing the rest. A set like our Maker’s Kit terrarium tools is built for exactly this kind of close, careful work.
A quick arrangement checklist
Before you call a build finished, run through a short mental checklist:
- Is there one clear focal point, placed off-centre?
- Does the scene have foreground, midground and background depth?
- Is the substrate sloped higher at the back for a sense of distance?
- Do the plants contrast in shape, height and shade of green?
- Is there room left for growth over the next few months?
Take your time with the layout, and step back often to check it from the angle it will actually be seen. If you are still choosing the glass to build in, our Glasshouse bioactive terrarium tank gives you an open, considered space to arrange a proper little landscape. Whatever you build in, a calm eye and a light hand will carry you further than any single plant.