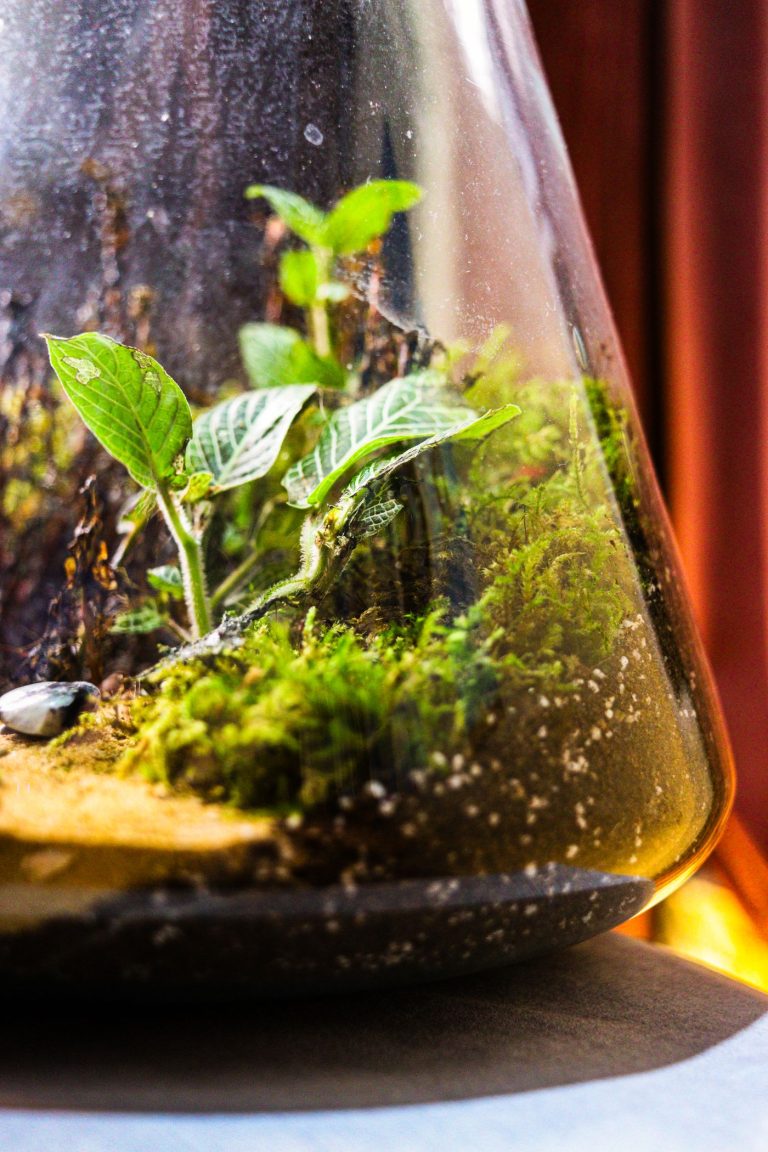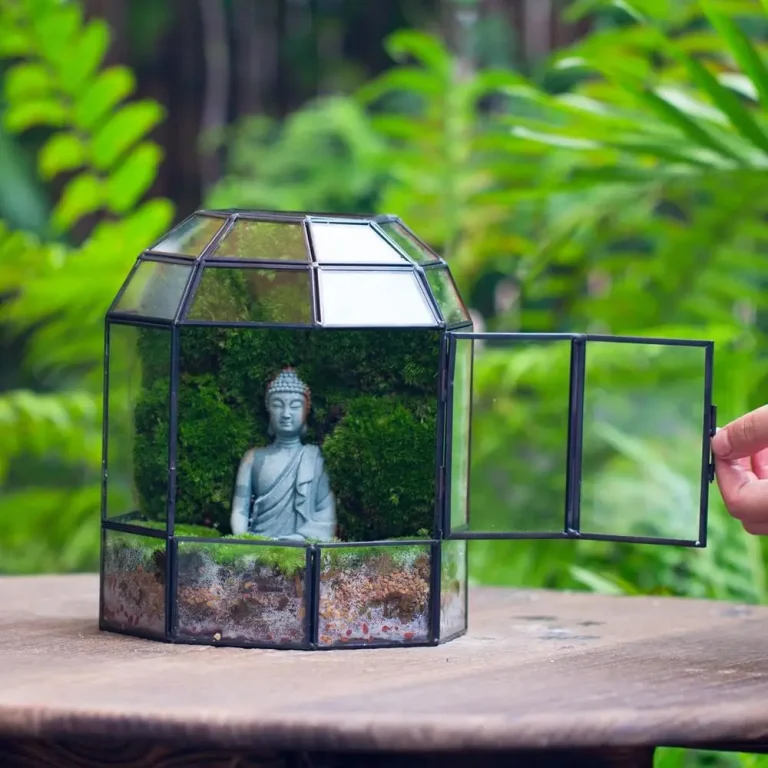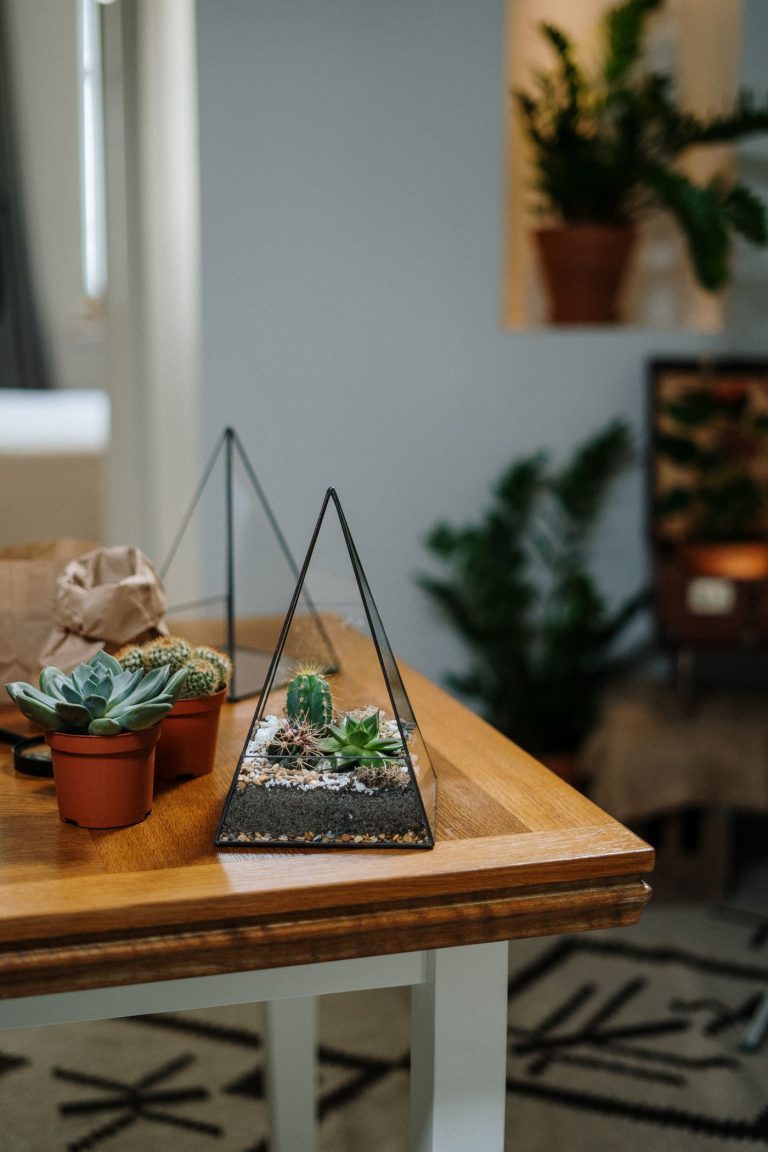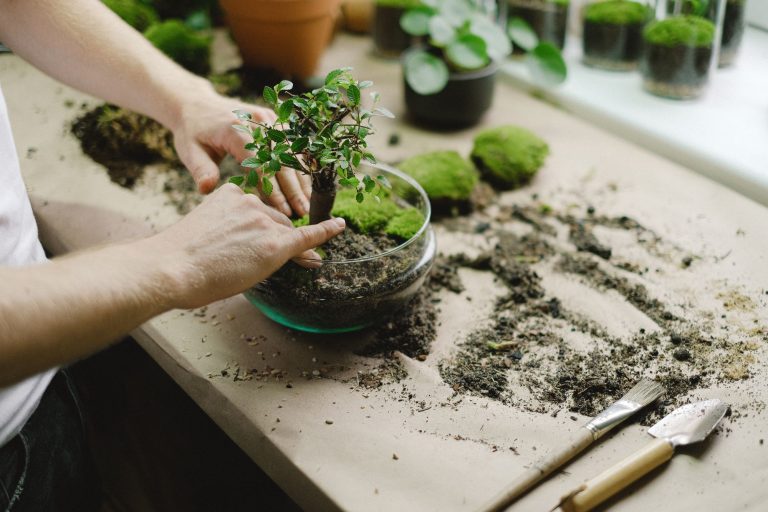
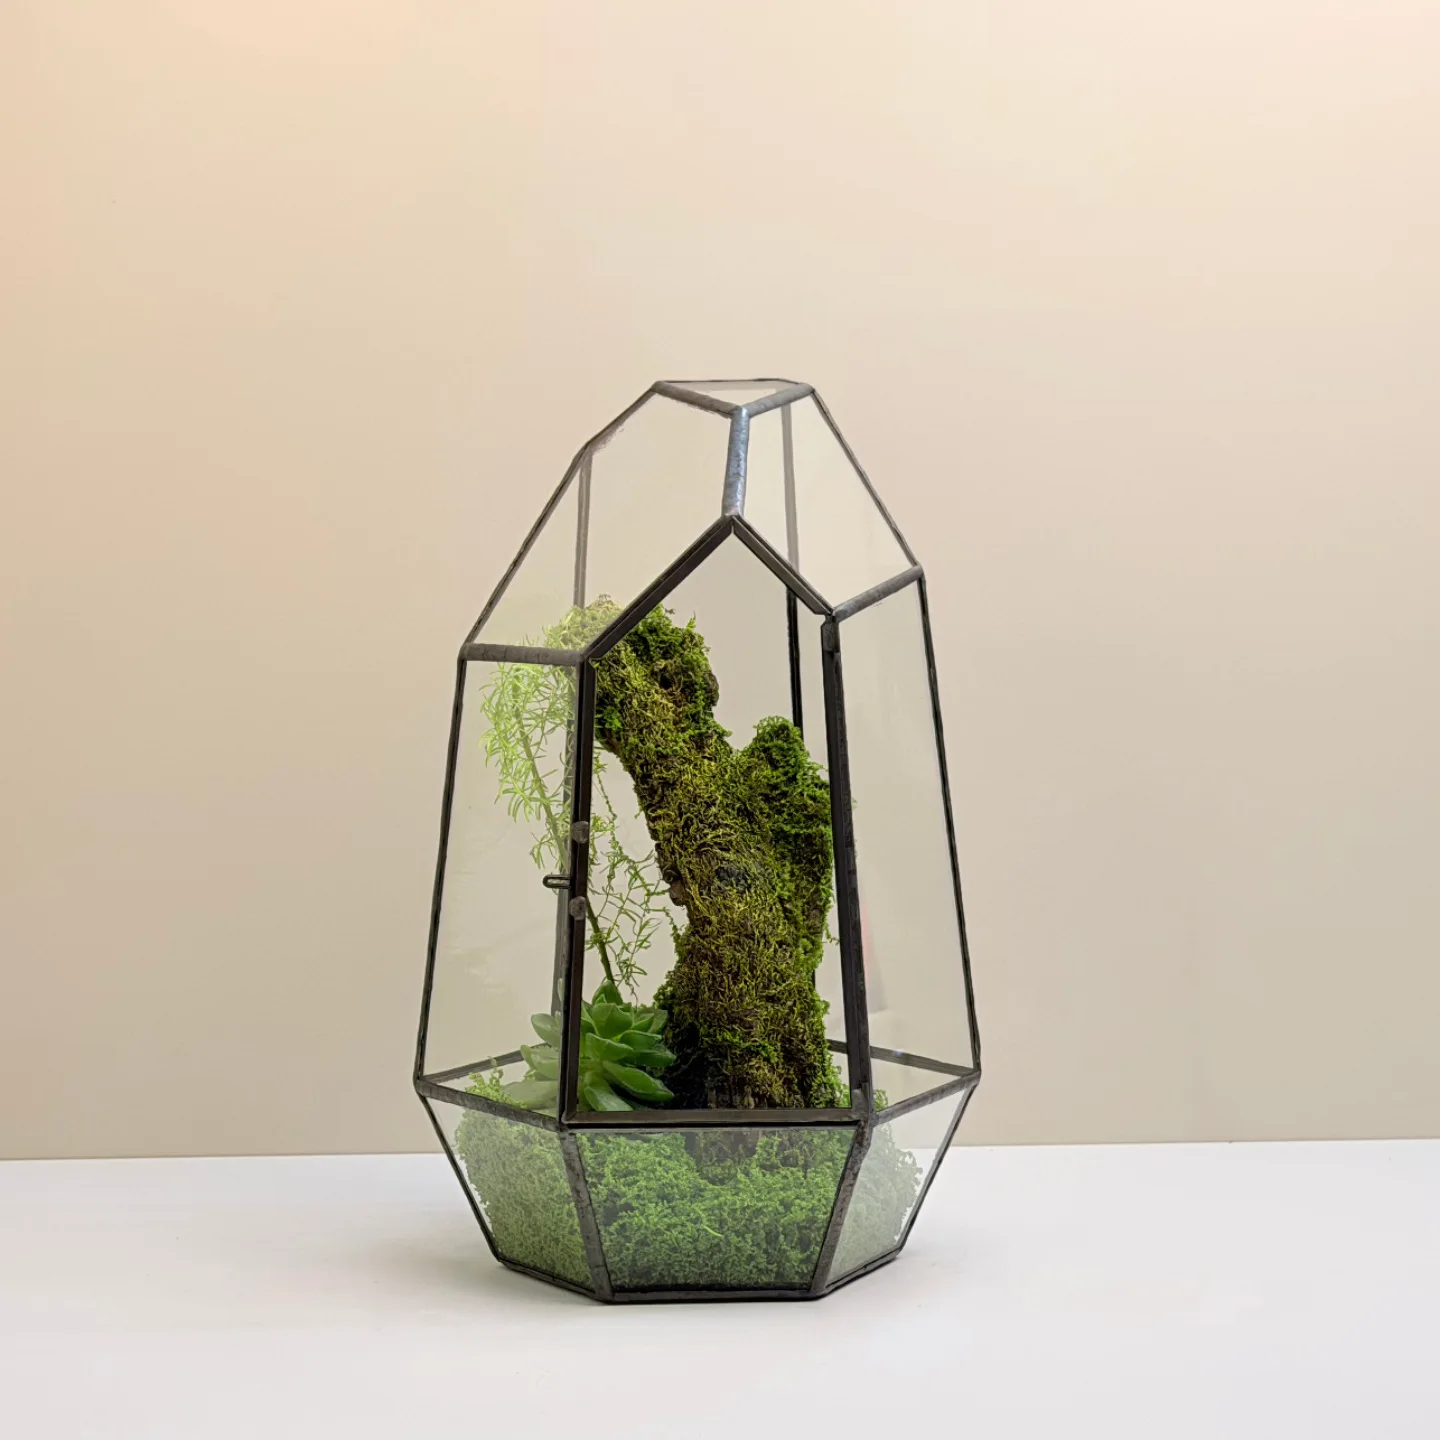
Wood and stone are the quiet backbone of a good terrarium. Before a single plant goes in, they set the shape of the scene, and getting them right makes everything you plant afterwards look at home.
What hardscape does in a terrarium
Hardscape is the non-living structure of your build: the pieces of wood and rock that give it height, depth and a sense of place. Plants and moss are the colour, but hardscape is the landscape they grow across.
A little goes a long way. Even one well-chosen branch or stone does several jobs at once:
- Creates height and levels, so a small vessel reads as a scene rather than a flat dish.
- Gives moss, trailing plants and ferns something to climb, cling to and soften over time.
- Adds a natural focal point that draws the eye and holds the composition together.
- In a bioactive setup, slowly breaks down to feed your cleanup crew and gives them shelter.
The main thing to watch is proportion. Hardscape should shape the space, not fill it. Leave room for roots to spread and for plants to grow into the gaps, and resist the urge to pack every corner. A little open ground reads as calm, and it gives the scene somewhere to develop over the months ahead.
Choosing wood
Not every piece of wood belongs in a sealed, humid box. You want something that resists rot, holds moisture without turning to mush, and carries no oils or treatments that could harm plants or a cleanup crew.
Woods that work well
- Cork bark: light, rot-resistant and beautiful. It comes as flat rounds or curved tubes, holds moss readily, and is one of the most forgiving choices for beginners.
- Spider wood (azalea root): fine, twisting branches that add instant drama and height. Rinse well, as it tends to leach a little tannin at first.
- Manzanita: dense, smooth and slow to break down, so it keeps its shape for years.
- Grapevine: characterful and inexpensive, though it is the most likely to bloom with harmless surface mould early on. Fine in a bioactive tank where the cleanup crew will graze it.
What to avoid
- Resinous softwoods such as pine, cedar, fir and spruce. Their sap and aromatic oils can linger and cause problems in a closed space.
- Wood from unknown sources, or anything that may have been painted, stained, varnished or treated.
- Very soft, already-rotting wood that will collapse within weeks.
Preparing wood
A short prep step makes wood safer and more stable. It removes loose debris, kills off pests and spores, and helps the piece sit still instead of floating up when the substrate gets wet.
- Scrub off any loose bark, soil and grit under running water.
- Boil the piece for twenty to thirty minutes, or soak it in very hot water if it is too large for a pan. This waterlogs it so it stays put, and clears most hitchhikers.
- Let it cool and drain before you place it.
Fresh wood often grows a soft white bloom in the first few weeks of high humidity. This is normal, not a disaster. Wipe it away, or let your springtails eat it, and it fades on its own.
Choosing rock
Stone adds weight, contrast and a sense of solid ground. The safest choices are inert, meaning they will not slowly change the water chemistry inside your terrarium.
Good stone choices
- Slate: flat, layered and easy to stack into ledges and low walls.
- Lava rock: light and full of tiny pores, which makes it easy to build height and gives beneficial microbes somewhere to settle.
- Quartz, granite and dragon stone: hard, characterful and stable, with plenty of texture for moss to catch on.
It is best to avoid limestone, marble and chalk, which slowly raise hardness and pH, along with any dyed or coated decorative stones from unknown sources.
Preparing and placing stone
Scrub rock under hot water with a stiff brush, and never use soap or detergent, as traces are hard to rinse out. For foraged stone, a spell in boiling water is worth the effort. Press each piece firmly into the substrate so it sits on a stable base rather than balancing on the surface.
Wood and stone also work well together. A piece of wood leaning against a low stone ledge, or a stone tucked at the foot of a branch, looks more like a real fragment of forest floor than either material does alone.
Arranging it well
Composition is where a handful of ordinary materials becomes a scene. A few simple habits do most of the work, and our guide on how to arrange a terrarium goes further into layout and planting.
- Work with odd numbers. One dominant piece with one or two supporting ones reads more naturally than matched pairs.
- Vary the heights and angles so the eye has somewhere to travel.
- Set your focal point slightly off-centre rather than dead in the middle.
- Leave the front open and lower, so you can see into the scene you are building.
One confident piece of wood does more than five competing ones. Choose your focal point first, then build quietly around it.
Hardscape goes in after the base is down, once the drainage and substrate are in place. If you are still planning those foundations, our post on terrarium layers covers what sits beneath everything and why it matters. Push each piece down into the substrate so it is anchored and will not shift as roots grow.
Keeping it healthy
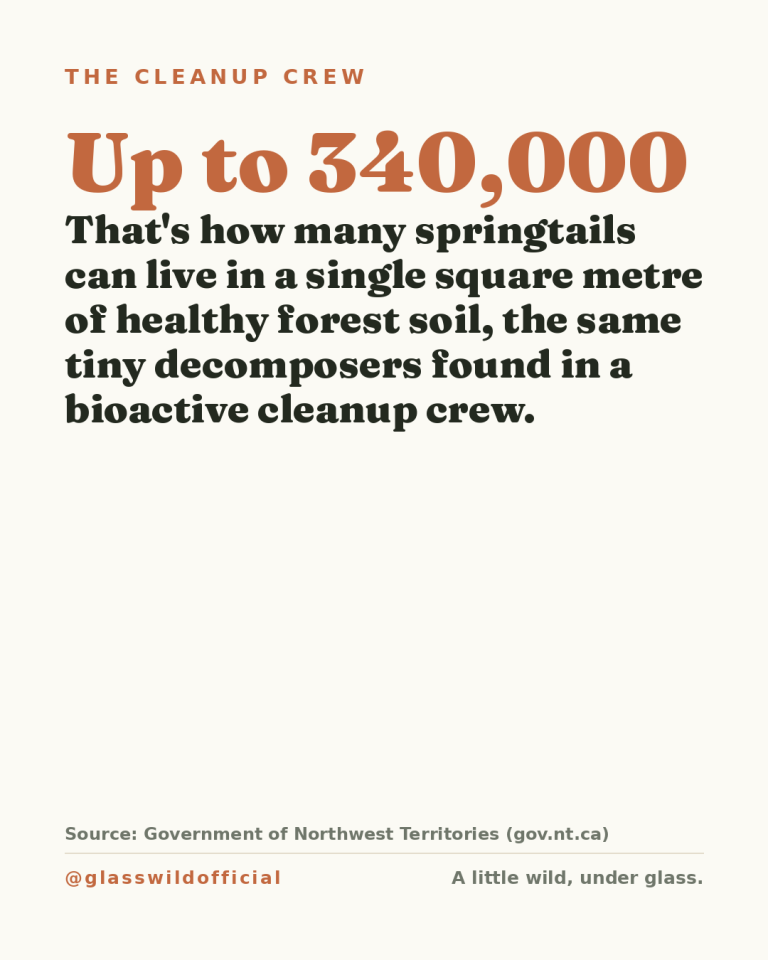
In a bioactive terrarium, wood and a scatter of leaf litter are not just decoration. They are slow food and shelter for your springtails and isopods, which graze the surface mould that fresh wood tends to produce.
That relationship is why an early bloom of mould is rarely worth worrying about in a bioactive setup. As the cleanup crew establishes, it keeps the wood grazed and the scene tidy on its own. A quick glass wipe now and then is usually all you need to add.
Where to start
You do not need much to begin. One good piece of cork bark or spider wood, a stone or two for contrast, and a little patience while everything settles will carry a build a long way. If you are choosing a vessel to build inside, the sealed Glasshouse bioactive terrarium tank gives hardscape and plants the height and humidity they like, with room to make a proper little landscape of your own.