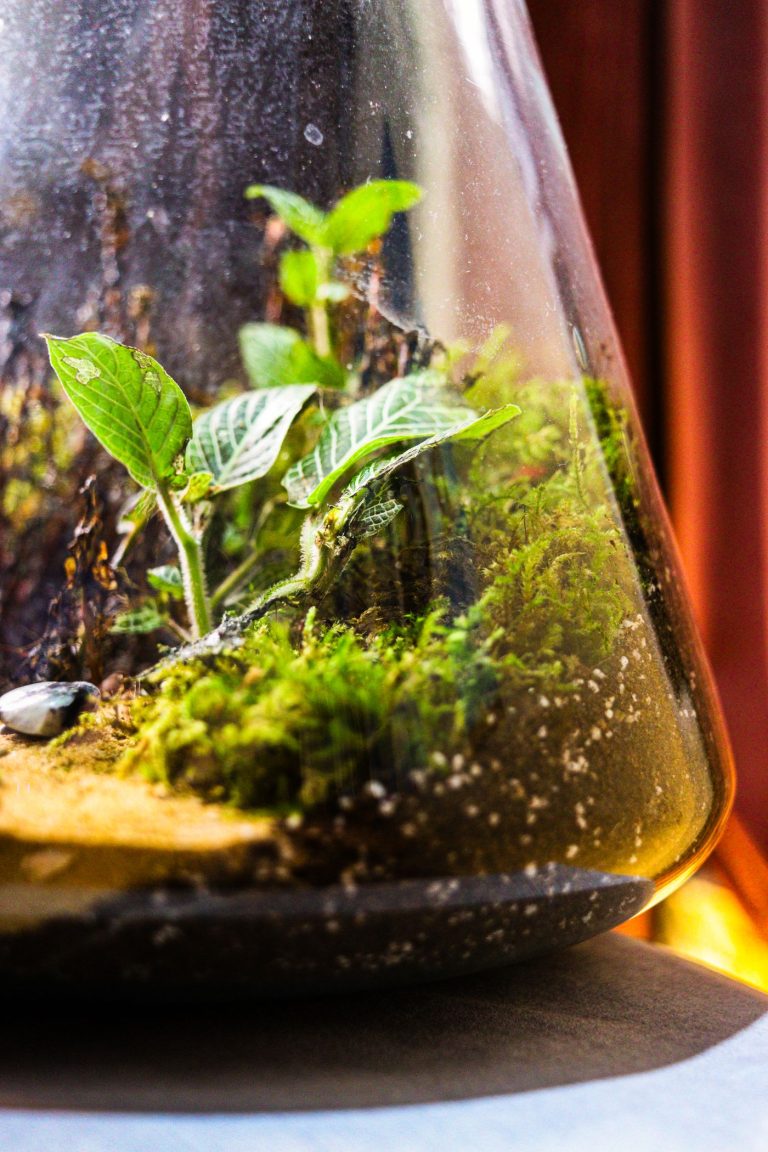
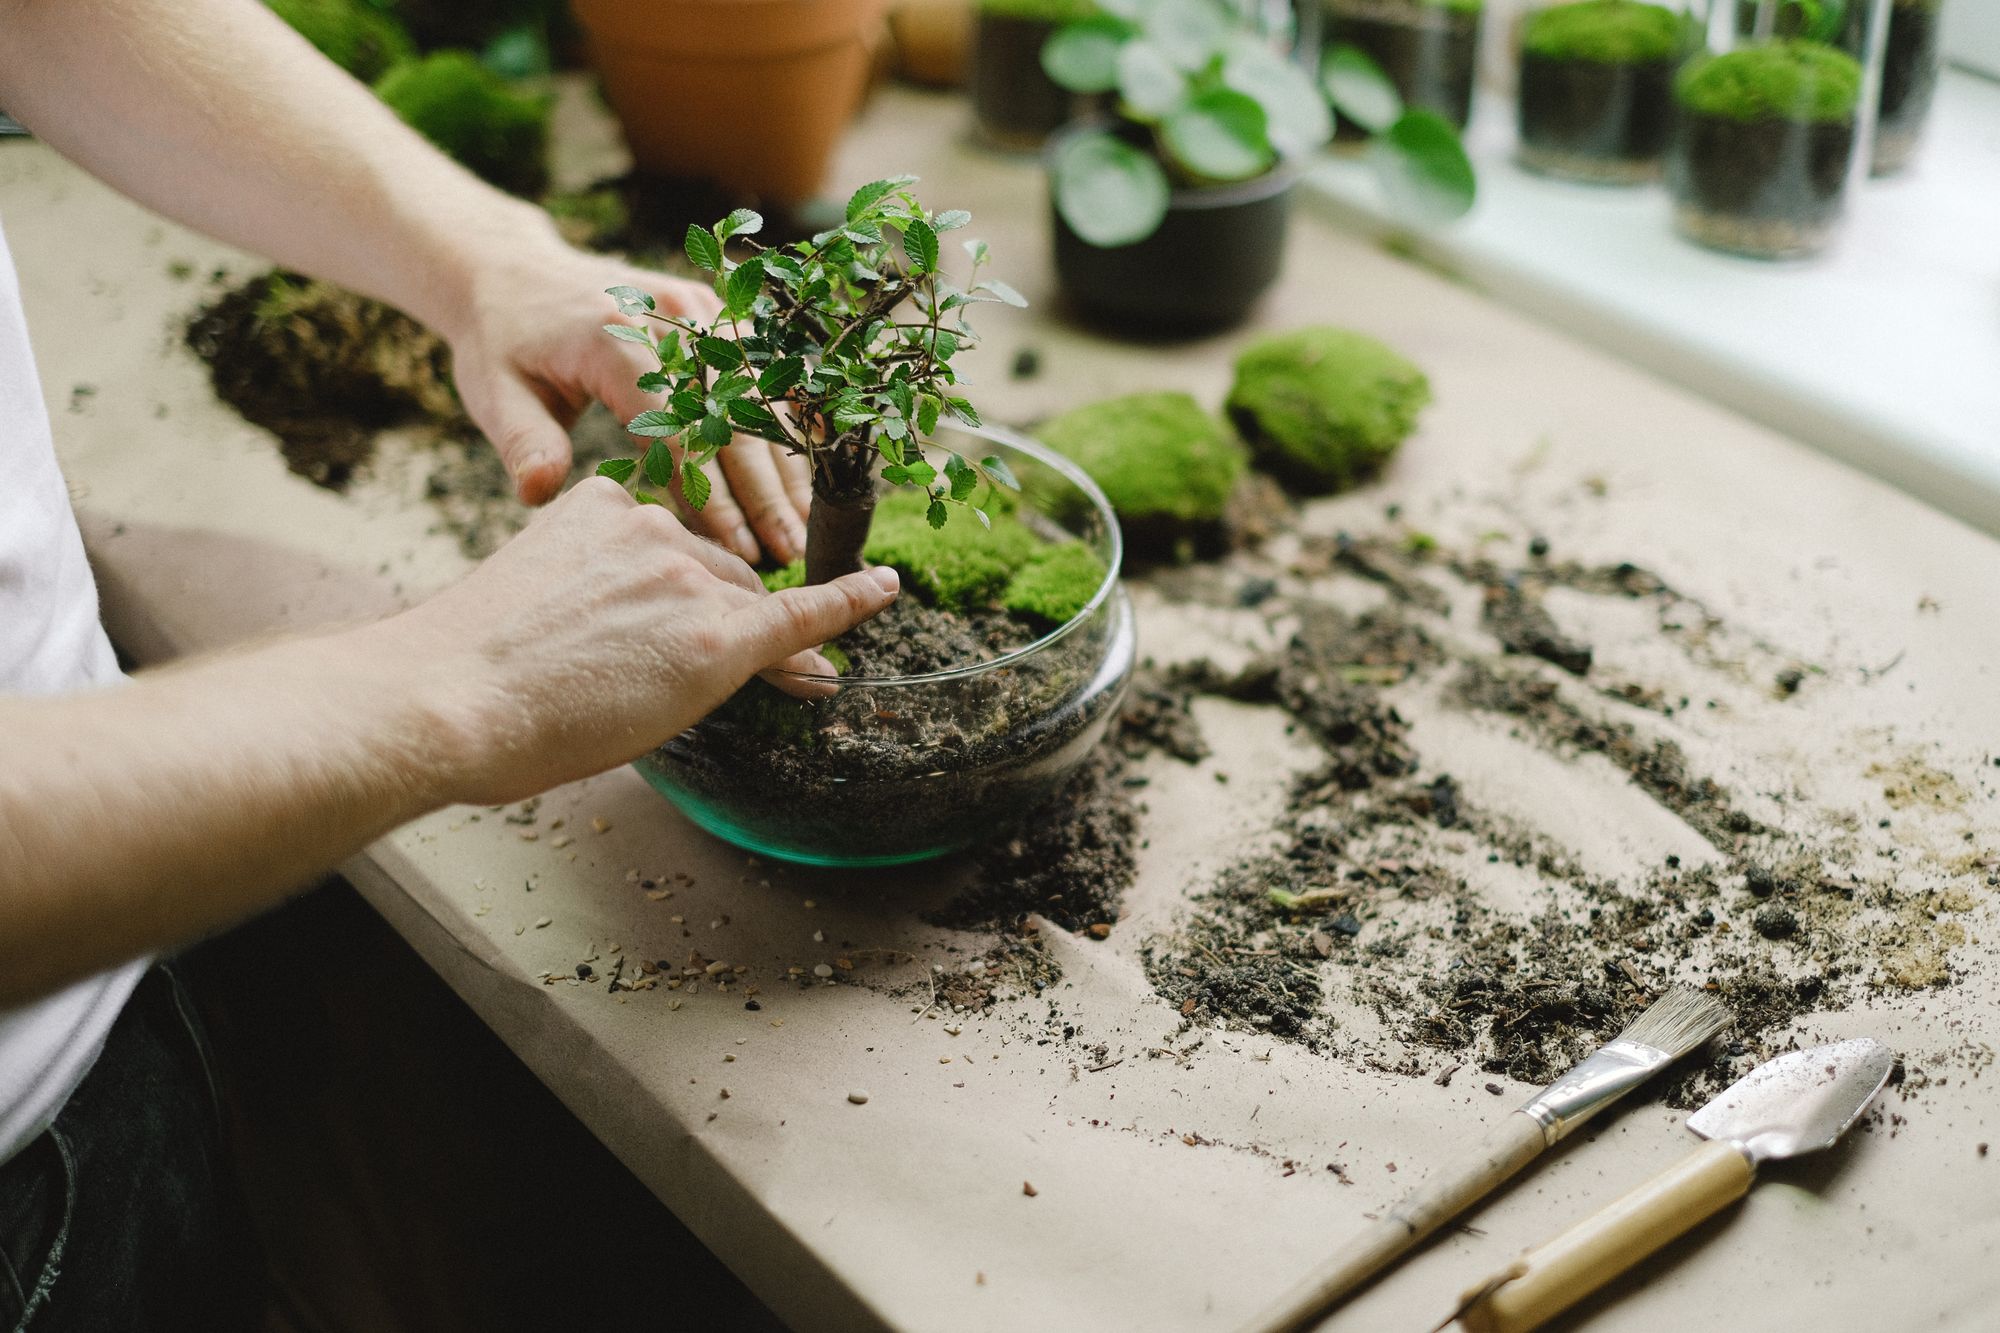
The substrate is the quiet engine of a bioactive terrarium. Get the mix right and your plants root, your cleanup crew settles in, and the whole little world looks after itself for years.
What a good substrate actually does
In a sealed or part-sealed terrarium, ordinary potting compost tends to pack down, hold too much water, and turn sour. A bioactive substrate has a harder job. It needs to feed living plants, stay open to air, hold steady moisture without flooding, and give springtails and isopods a home near the surface.
That is why we build it from a few ingredients rather than a single bag of soil. Each one covers a different need, and together they stay loose and alive for the long term.
The core ingredients
You can find all of these at a garden centre or reptile shop. Avoid anything labelled as enriched or feed-added potting compost, as the fertiliser salts can harm your cleanup crew and scorch tender roots.
Coconut coir
Coir is the base of the mix. It holds moisture evenly, stays airy, and is slow to break down. On its own it compacts over time, so it works best as the main part of a blend rather than the whole thing.
Fine orchid bark
Bark is the structure. Those small chunks hold open pockets of air so roots can breathe and water can move through instead of pooling. It also resists the slow compaction that pure coir falls into.
Horticultural charcoal
A handful of charcoal through the mix helps keep the substrate fresh by taking up some of the impurities that build up in a closed environment. It is not a miracle filter, but in a humid, enclosed space it earns its place.
Worm castings or leaf-mould compost
This is the gentle food. A small proportion of worm castings or sieved leaf mould gives plants a steady, mild supply of nutrients and feeds the microfauna, without the harsh hit of a chemical fertiliser.
Sphagnum moss
Teased apart and worked through the blend, sphagnum holds moisture right where roots want it and helps the substrate recover quickly after it dries a little at the surface.
A simple substrate recipe
Measure by volume, not weight, using any scoop or cup as one part. This makes a tropical mix that suits moss, ferns, and most of the foliage plants people grow under glass.
- 2 parts coconut coir
- 1 part fine orchid bark
- 1 part sphagnum moss, teased apart
- 1 part worm castings or sieved leaf-mould compost
- A generous handful of horticultural charcoal for every few litres of mix
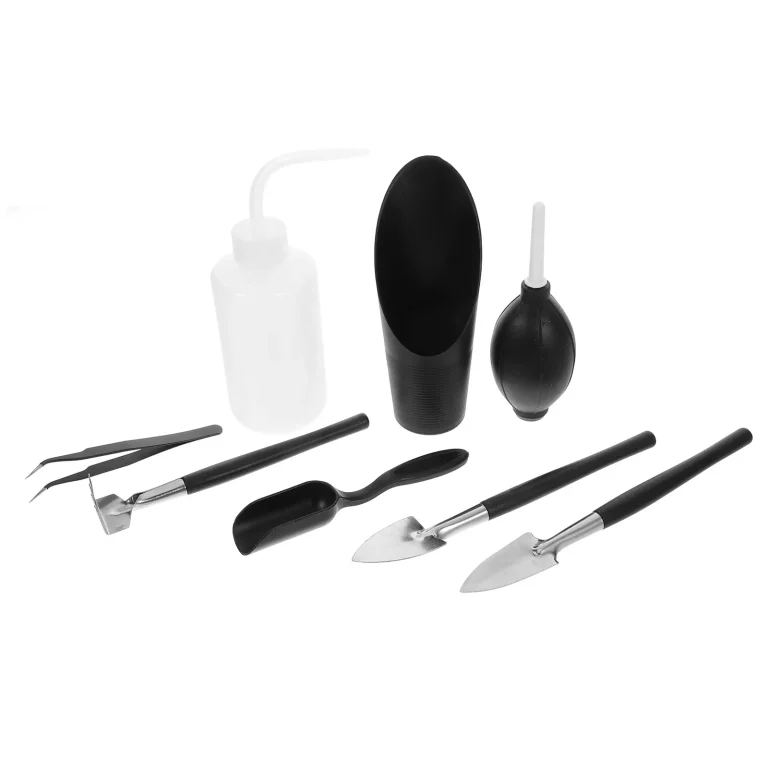
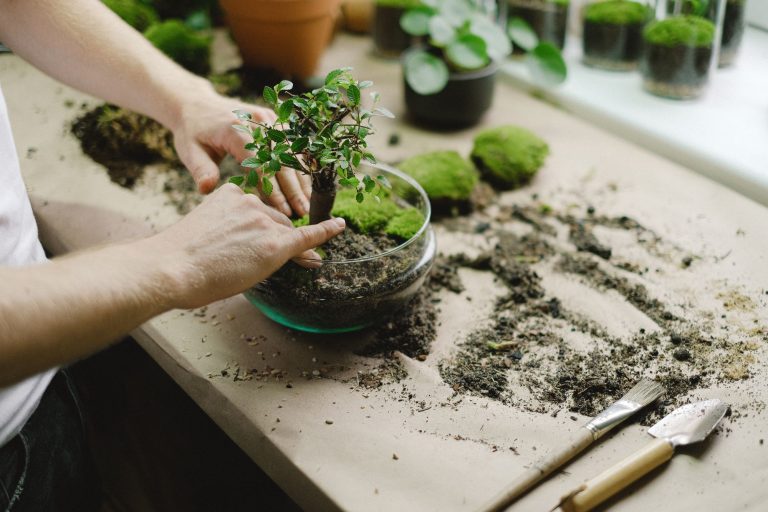
Combine everything in a tub and moisten it as you go until it feels evenly damp. A pair of long tweezers and a tamper from a terrarium tool set make it far easier to place and level the substrate once it is in the glass.
The test to remember: a handful of finished substrate should feel like a wrung-out sponge. Squeeze it and only a drop or two should appear. If water streams out, it is too wet to plant into.
Match the mix to your plants
The recipe above is a tropical blend, which is what most people want under glass. Moss, ferns, fittonia, and similar foliage all enjoy steady moisture and the airy, humus-rich texture it gives.
If you are growing succulents or cacti instead, the balance shifts. Those plants need the water to drain away quickly, so cut the coir and sphagnum right back and lean on bark, charcoal, and a good dose of coarse grit or horticultural sand. The aim is a mix that dries out between waterings rather than staying damp. As a rule, decide what you are planting before you mix, since it is far easier than trying to correct the moisture later.
Where the mix sits in the layer stack
Substrate is one layer in a small stack that keeps the base healthy. Underneath it you want a drainage layer of light expanded clay or fine gravel, then a mesh barrier so the soil does not wash down into it. The substrate sits on top of that barrier, and botanicals finish the surface.
If you are new to the full build, our guide to terrarium layers walks through the whole base from bottom to top. For most setups, two to three inches of substrate is plenty for moss and shallow-rooted plants, with a little more depth where you are planting rooted ferns.
Finishing the surface
A scatter of leaf litter and a few small botanicals across the top does two jobs. It looks like a real forest floor, and it gives your springtails and isopods something to feed on as it slowly breaks down. The cleanup crew lives mostly in this top inch, so keeping it moist and covered matters.
Getting the moisture right
Most substrate problems come down to water. Too dry and plants struggle and the cleanup crew retreats. Too wet and the mix goes anaerobic, which you will notice as a sour smell and a dark, sticky surface.
- Aim for evenly damp throughout, never waterlogged.
- Keep any standing water in the drainage layer below the substrate, not touching it.
- Mist lightly to top up surface moisture rather than pouring water in.
- Let the very top dry a touch between mistings, especially in a closed terrarium.
Common mistakes to avoid
- Using garden soil or fertilised compost. Both can bring in pests, salts, and a texture that compacts and holds too much water.
- Making it too deep. A very deep layer stays wet at the bottom and turns sour. Match the depth to what you are planting.
- Skipping the structure. Coir alone packs down within months. Bark and charcoal keep it open.
- Leaving the surface bare. Without leaf litter, the cleanup crew has little to eat and the look falls flat.
Giving your build a good home
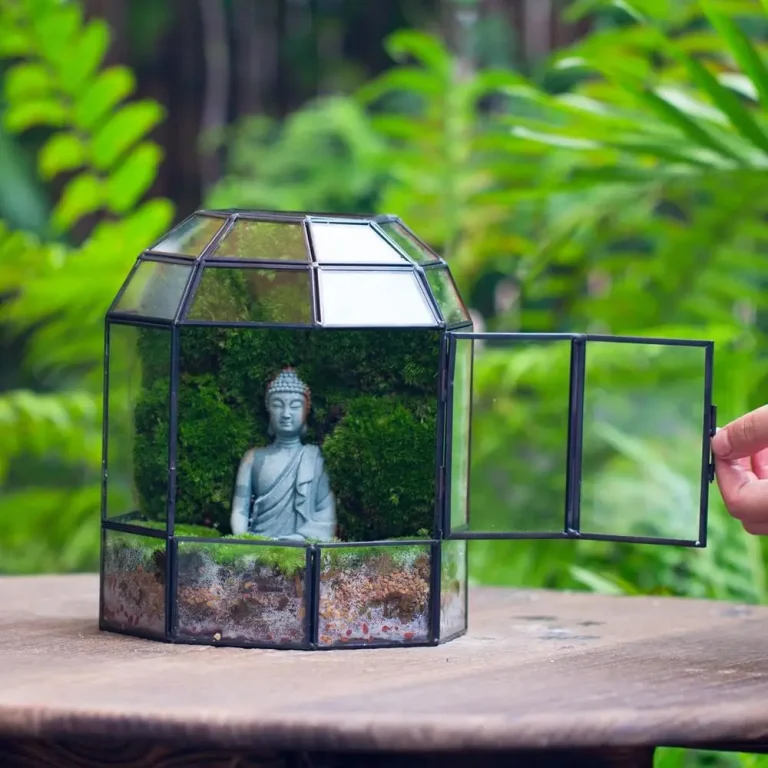
A well-made substrate deserves a vessel that holds humidity and lets you reach in to plant and tend it. Our Glasshouse Mini bioactive tank is a friendly size for a first bioactive build, with room for a proper layer stack and an easy opening to work through.
Mix your substrate once, mix it well, and the rest of the terrarium tends to follow. If you would like the ingredients measured and ready, our bioactive kits include a substrate and botanicals alongside an illustrated step-by-step guide, so you can go straight to the fun part of building.